Frequently asked questions about vinyl flooring
How do I lay vinyl flooring?
At Carpetright we advise using a professional flooring fitter in order to achieve the best finish for your chosen vinyl flooring. Our professional fitting arrangement service is approved by Which? Trusted Traders. The independent fitters will ensure you get the perfect fit and finish. However, if you’d like to try fitting vinyl flooring yourself, we’ve put together a vinyl fitting guide with expert hints and tips to help you along the way.
Which flooring is best for me, Vinyl or Lino?
There is confusion surrounding whether or not vinyl and lino are the same thing. The core difference between the two is the material that makes the base.
Difference 1 Vinyl is designed from a manmade material, also known as PVC whereas Lino, also known as Linoleum, is made from natural materials. Ideal for those seeking an ‘eco-flooring’ for their home, naturally antibacterial and biodegradable.
Difference 2 Vinyl is produced in many design options and is widely available. Lino is harder to source than vinyl and generally has less design options available to choose from.
Difference 3 Low levels of maintenance for vinyl flooring makes it a popular choice for busy households. This flooring is resilient and will not be affected by moisture, mould or mildew.
Lino flooring however is more sensitive to cleaning products and requires more maintenance and care. An acrylic coating should be applied on an annual basis in order to protect and prevent excess moisture and mould from accumulating.
Which flooring is best for me, Vinyl or Laminate?
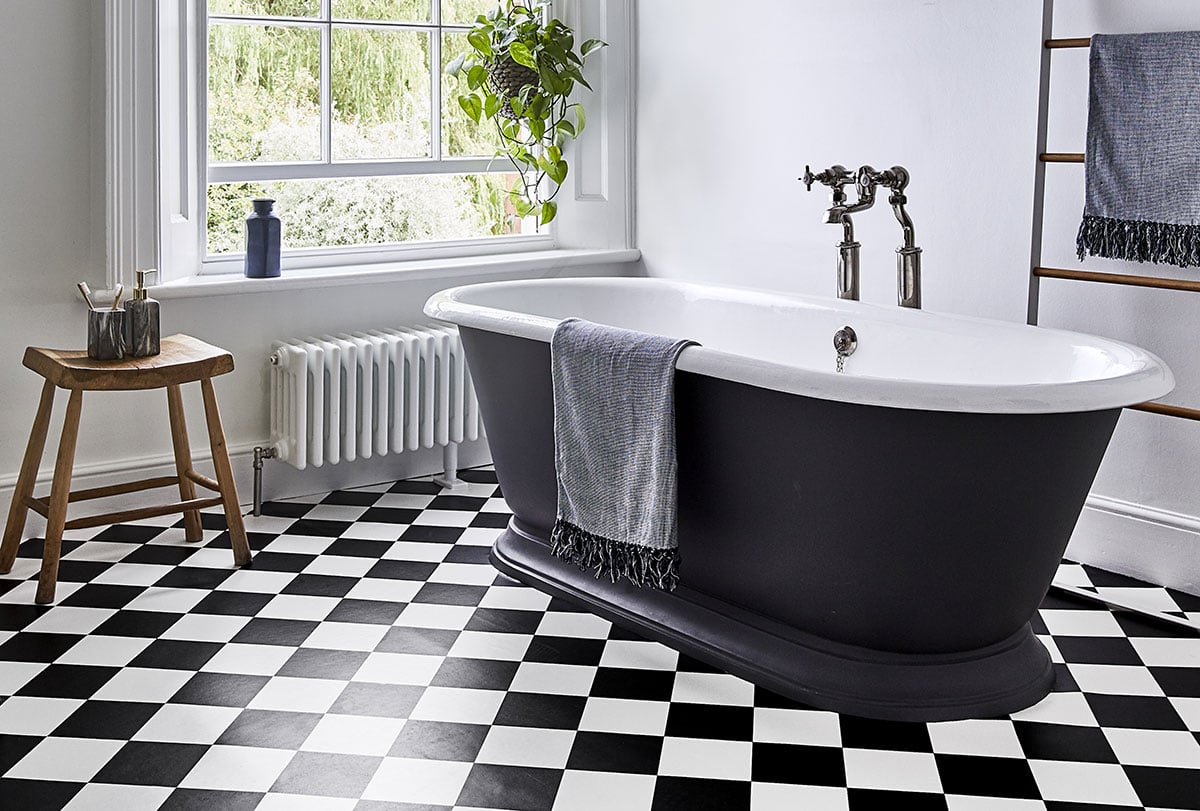
Vinyl flooring is relatively inexpensive and is available in various designs. Some designs boast bright and colourful patterns, whilst others mimic alternative more expensive flooring options such a wood, granite, marble etc. Laminate flooring often comes in designs that replicate the look of wood flooring or stone effect tiles, a low cost alternative to the real thing.
Vinyl has a soft feel and is available with a slip resistant covering – ideal for households with small children, elderly family members or pets. Laminate flooring has more solid feel underfoot and is well suited to high traffic areas thanks to its scratch resistant top layer.
Our range of vinyl flooring is also water resistant, making it the ideal flooring choice for wet areas of the home including bathrooms.
Both flooring options are relatively lost cost solutions, however it is important to consider the needs of your home before making your decision.
Watch the benefits of vinyl, luxury vinyl tiles and laminate flooring with our home expert Lucy Alexander
Vinyl sheet vs Luxury Vinyl Tiles
Vinyl Sheet
- Vinyl sheet comes in a variety of different colours, patterns and designs.
- Often laid in one or two pieces, minimal seams are achieved.
- Requires installation by an expert.
- Repairs to this flooring would require the whole flooring to be replaced or a cut and replacement of the damaged section creating an additional seam.
Luxury Vinyl Tiles
- Creates a realistic effect with designs mimicking stone, ceramic and hardwood.
- There is the ability to configure the tiles to any desired pattern, personalising it to your room.
- Fast and easier installation over sheet vinyl.
- Tile replacement is unnoticeable should a repair be required.
Can vinyl flooring be repaired?
Just like all other floor types, vinyl flooring can be subjected to wear and tear, ranging from teeny tiny scrapes to major cuts and tears.
One of our top choices for pet-friendly flooring, vinyl is generally resistant to scuffs and scrapes made by mucky pups with overzealous paws - nevertheless, it’s certainly not invincible.
Damage caused by water can cause the material to bubble up in different sections and major rips and tears can render the sealants and adhesives ineffective, causing the vinyl tiles to curl up and no longer stick to the floor.
When these things happen, you’ll likely find yourself wondering whether vinyl can be repaired. The good news is that it’s definitely possible, though seeking the aid of a professional can be time-consuming and costly. For that reason, we’ve compiled together a step by step guide to give you the necessary tools and information for carrying out big and small vinyl flooring repairs at home.
Repairing small scrapes and cuts
We’ll start by guiding you through the repairs of minor damages to your vinyl flooring.
You’ll need: hoover/broom/mop, seam sealer/vinyl seam sealant
- Step one: Clear away any existing dirt and debris from the damaged part of your floor with a hoover or broom. You can also mop and rinse it if sweeping doesn’t do an adequate job.
- Step two: Seal the scrapes and cuts with a low-gloss seam sealer/vinyl seam sealant. These products will stop the lower layers of the flooring from deteriorating further.
How to repair bubbles in vinyl flooring
Water damage is the usual culprit for bubbles appearing in vinyl flooring, however it is easily rectified.
You’ll need: utility knife, vinyl floor adhesive, plastic putty knife, clean rag, rolling pin
- Step one: Cut down the length of each bubble in the middle using a utility knife. If the water damage has caused the bubbles, wait until the floor is dry before making any cuts.
- Step two: Squirt vinyl floor adhesive into each incision of the bubble’s centre.
- Step three: Spread the adhesive evenly beneath the location of each bubble with a plastic putty knife.
- Step four: Use a clean rag to remove any excess adhesive from outside the cut.
- Step five: Roll across the adhesive spots to make it stick to the floor using a rolling pin (or similar).
- Step six: Place something heavy on the spot where the adhesive is and allow it to dry. The vinyl floor adhesive packaging should contain information on how long the adhesive will take to dry.
How to repair major damage to your vinyl flooring
The process becomes slightly trickier when dealing with major damages to flooring, but it is still feasible for you to fix them at home using some basic tools and equipment. You’ll need: utility knife, putty knife, replacement vinyl tile, vinyl flooring adhesive, vinyl seam sealant, rolling pin
- Step one: Make a cut around the tile/section of flooring you’re replacing (use a utility knife to do so).
- Step two: Pry up the section of damaged flooring firmly using a putty knife (or similar). If you’re having trouble prying up the section of flooring, aim a hair dryer at the area to loosen the adhesive.
- Step three: Purchase another piece of vinyl or replacement tile that matches the one you’ve removed.
- Step four: Place the new flooring or tile into the empty space and adjust its shape using the utility knife.
- Step five: Apply vinyl flooring adhesive to the matching replacement tile and secure it in place.
- Step six: Put vinyl seam sealant on the open seams which are adhesive-free.
- Step seven: Secure the new vinyl piece or tile in place using a rolling pin or hand roller to strengthen the adhesive and make sure nobody treads on the newly laid tile area until it has fully dried.
If you find yourself struggling with the fiddly process of vinyl flooring repair, we recommend seeking advice from a Carpetright floor specialist. After that, our vinyl flooring care guide is chockful of cleaning and maintenance advice to help you keep your floor spick and span.
